My Dining Room China Cabinet Makeover
One project I've been wanting to do for a while now is the china cabinet in my dining room. It's a mahogany piece from the 40's or 50's and the reason I bought it is because it's not a large piece, it's not too deep, so the size is perfect.
I still felt it had a bit of a monolithic look so I knew I needed to paint it to lighten it up and in turn the whole room.
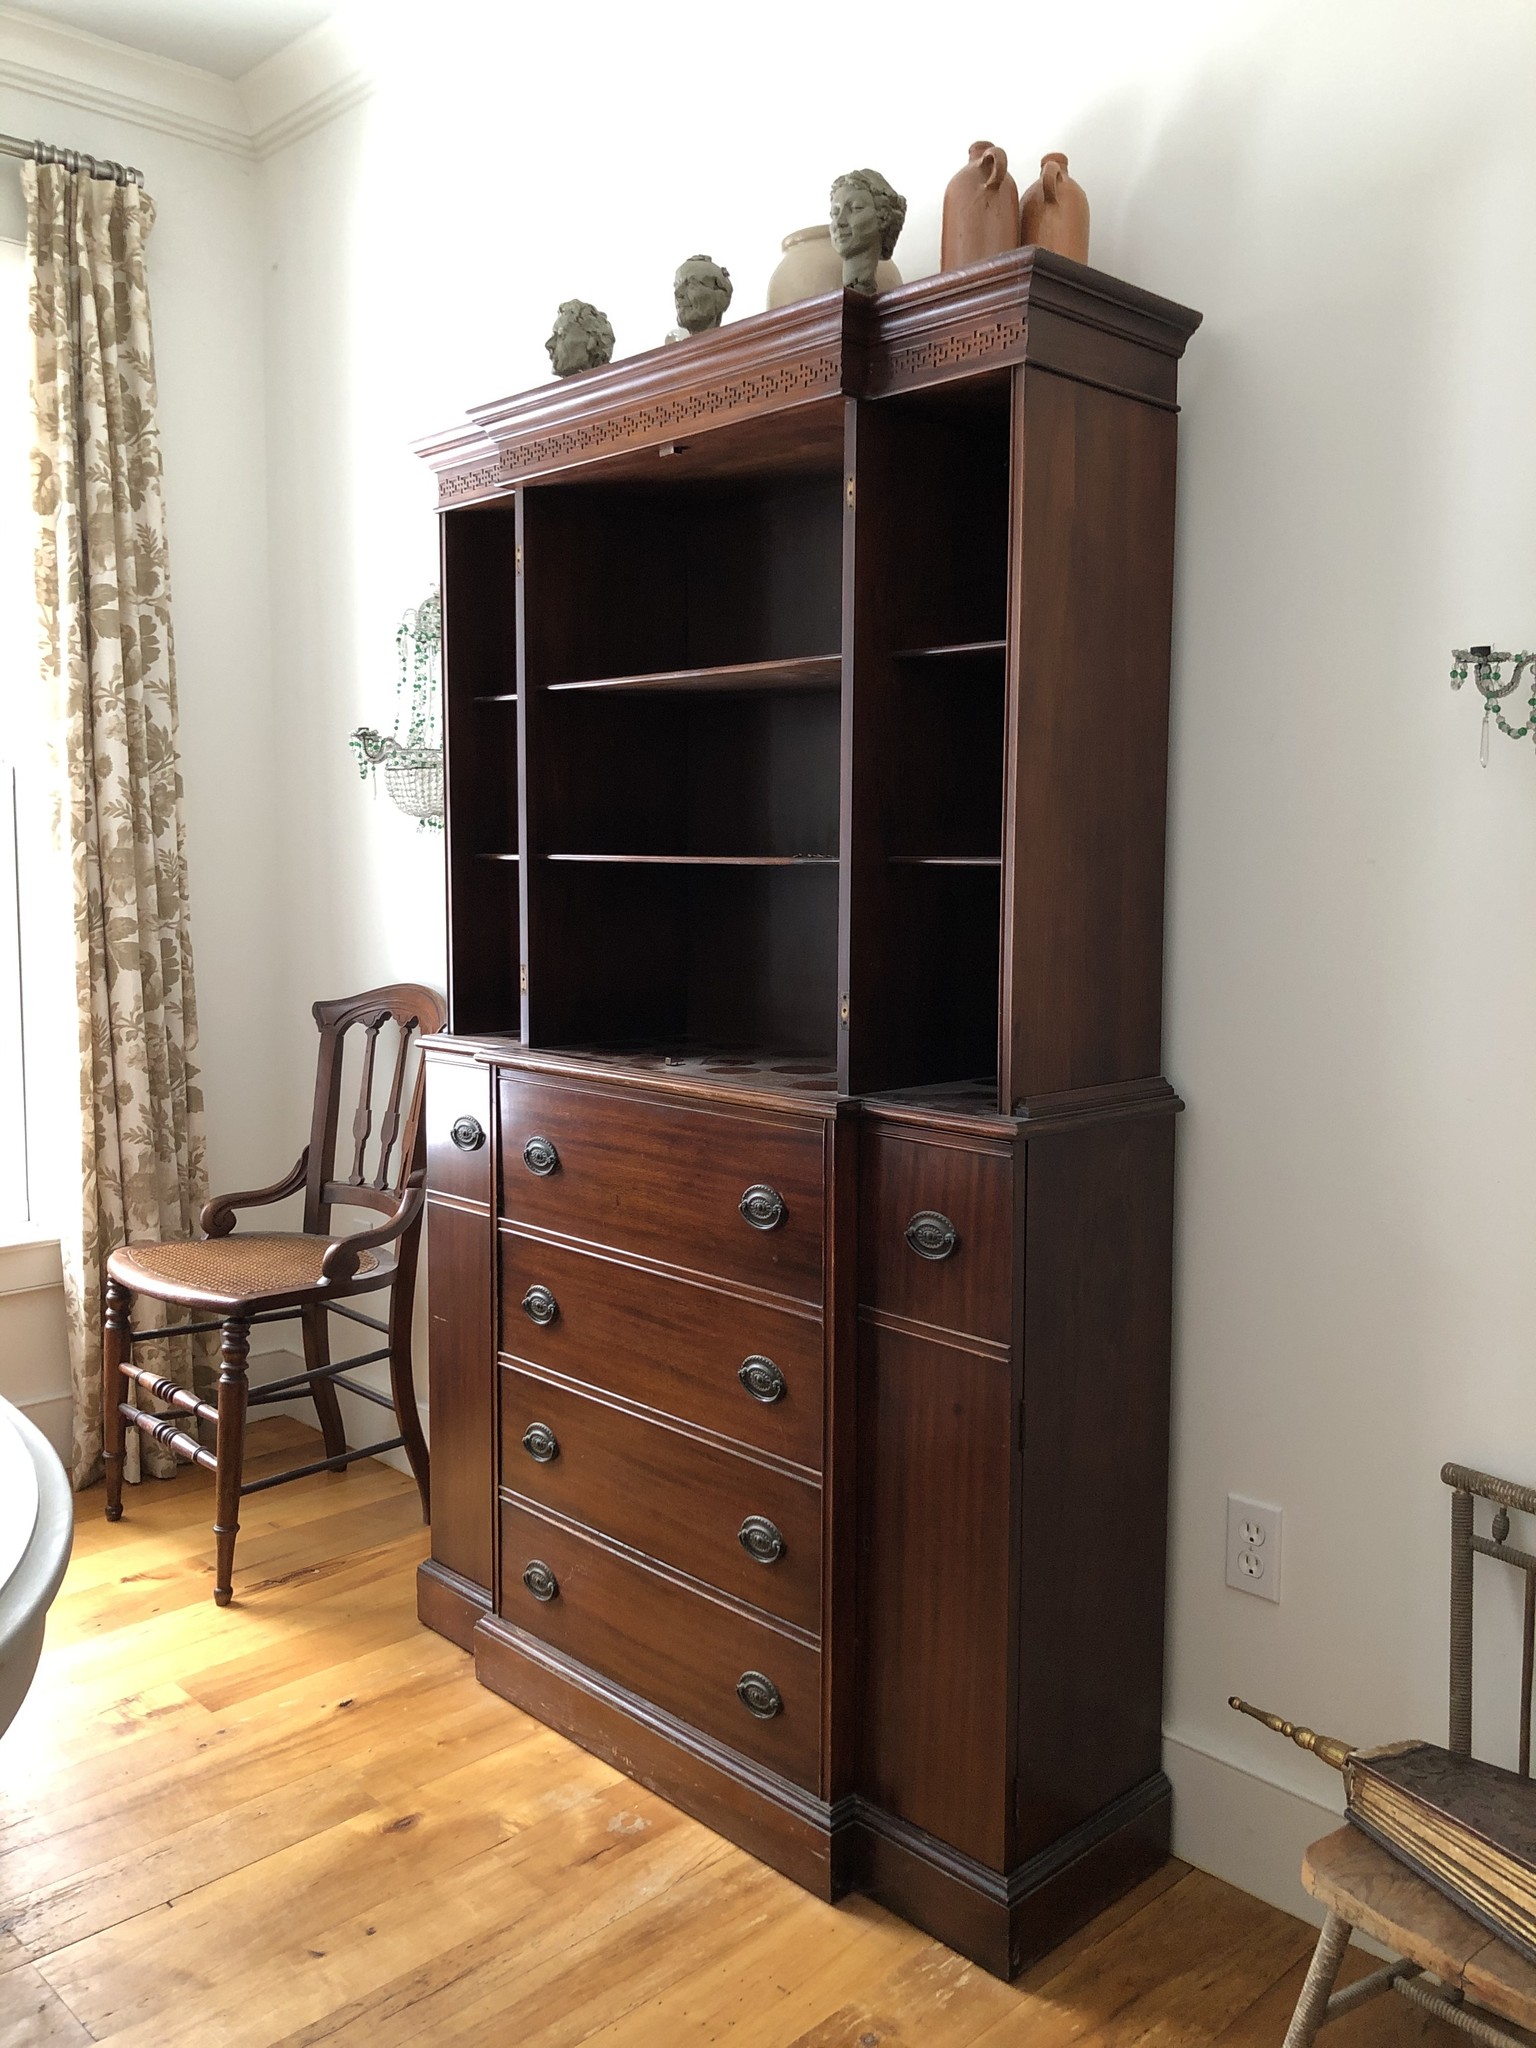
Here is the before after I took the doors off and thankfully remembered to get a picture of it!
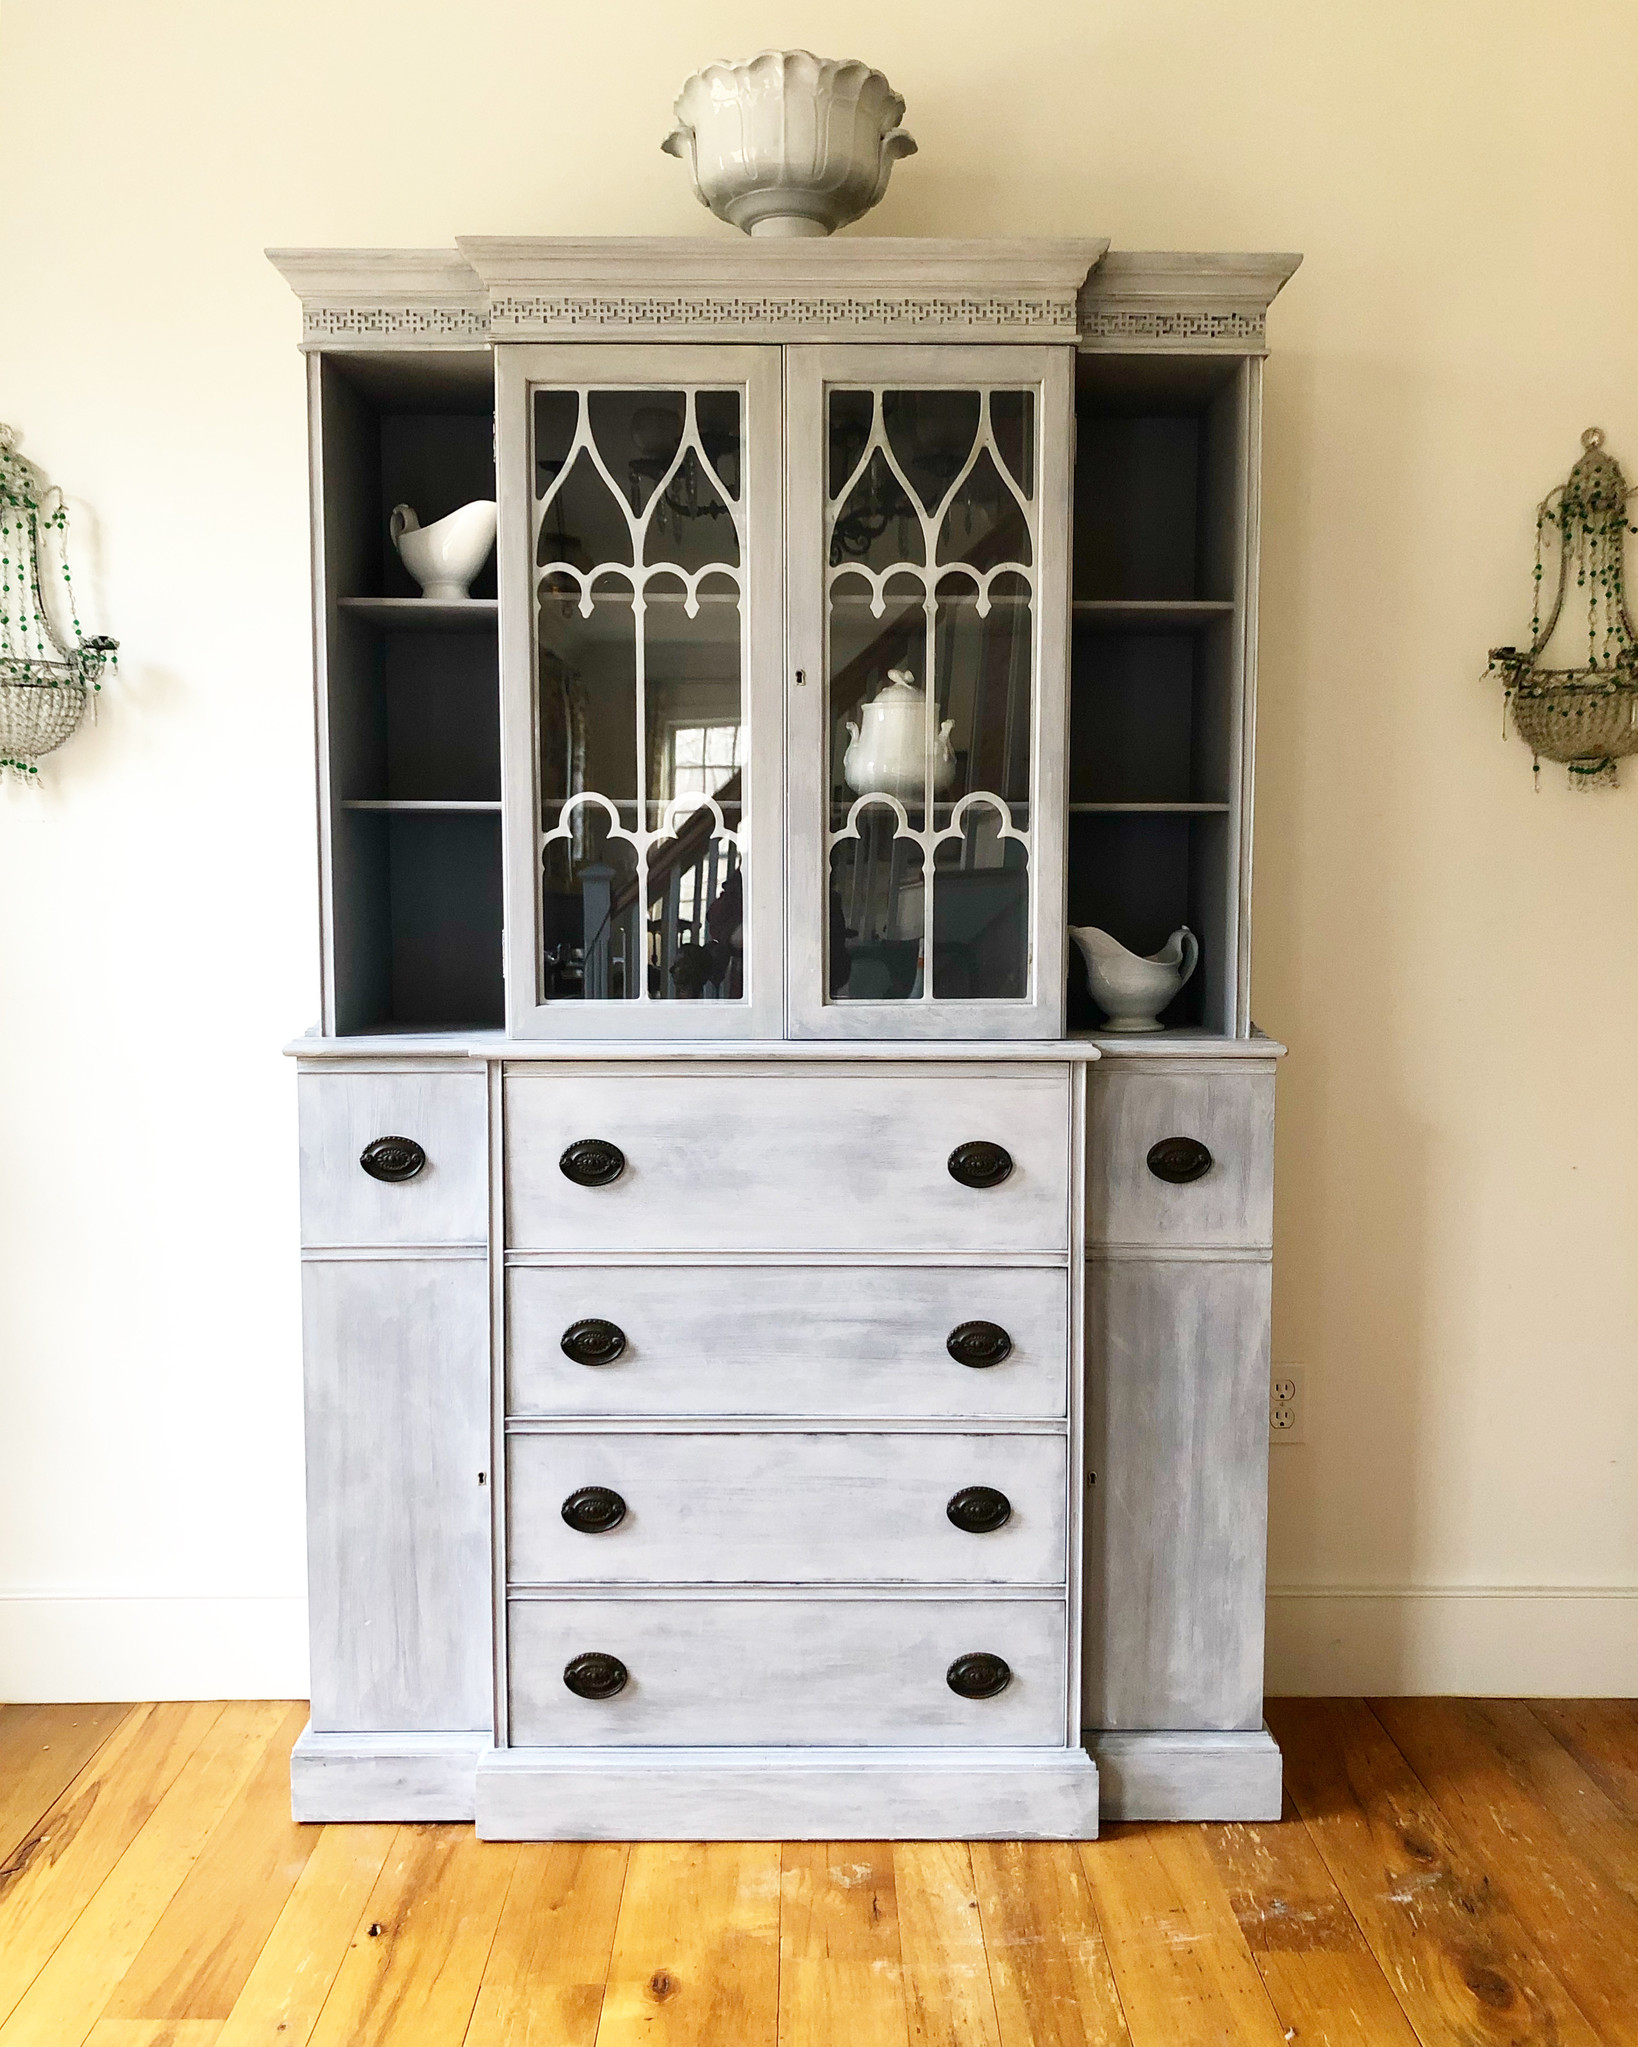
Here's the after, I had a difficult time getting a good shot, had to use my phone as I don't have the right size lens for my camera to get the whole thing in.
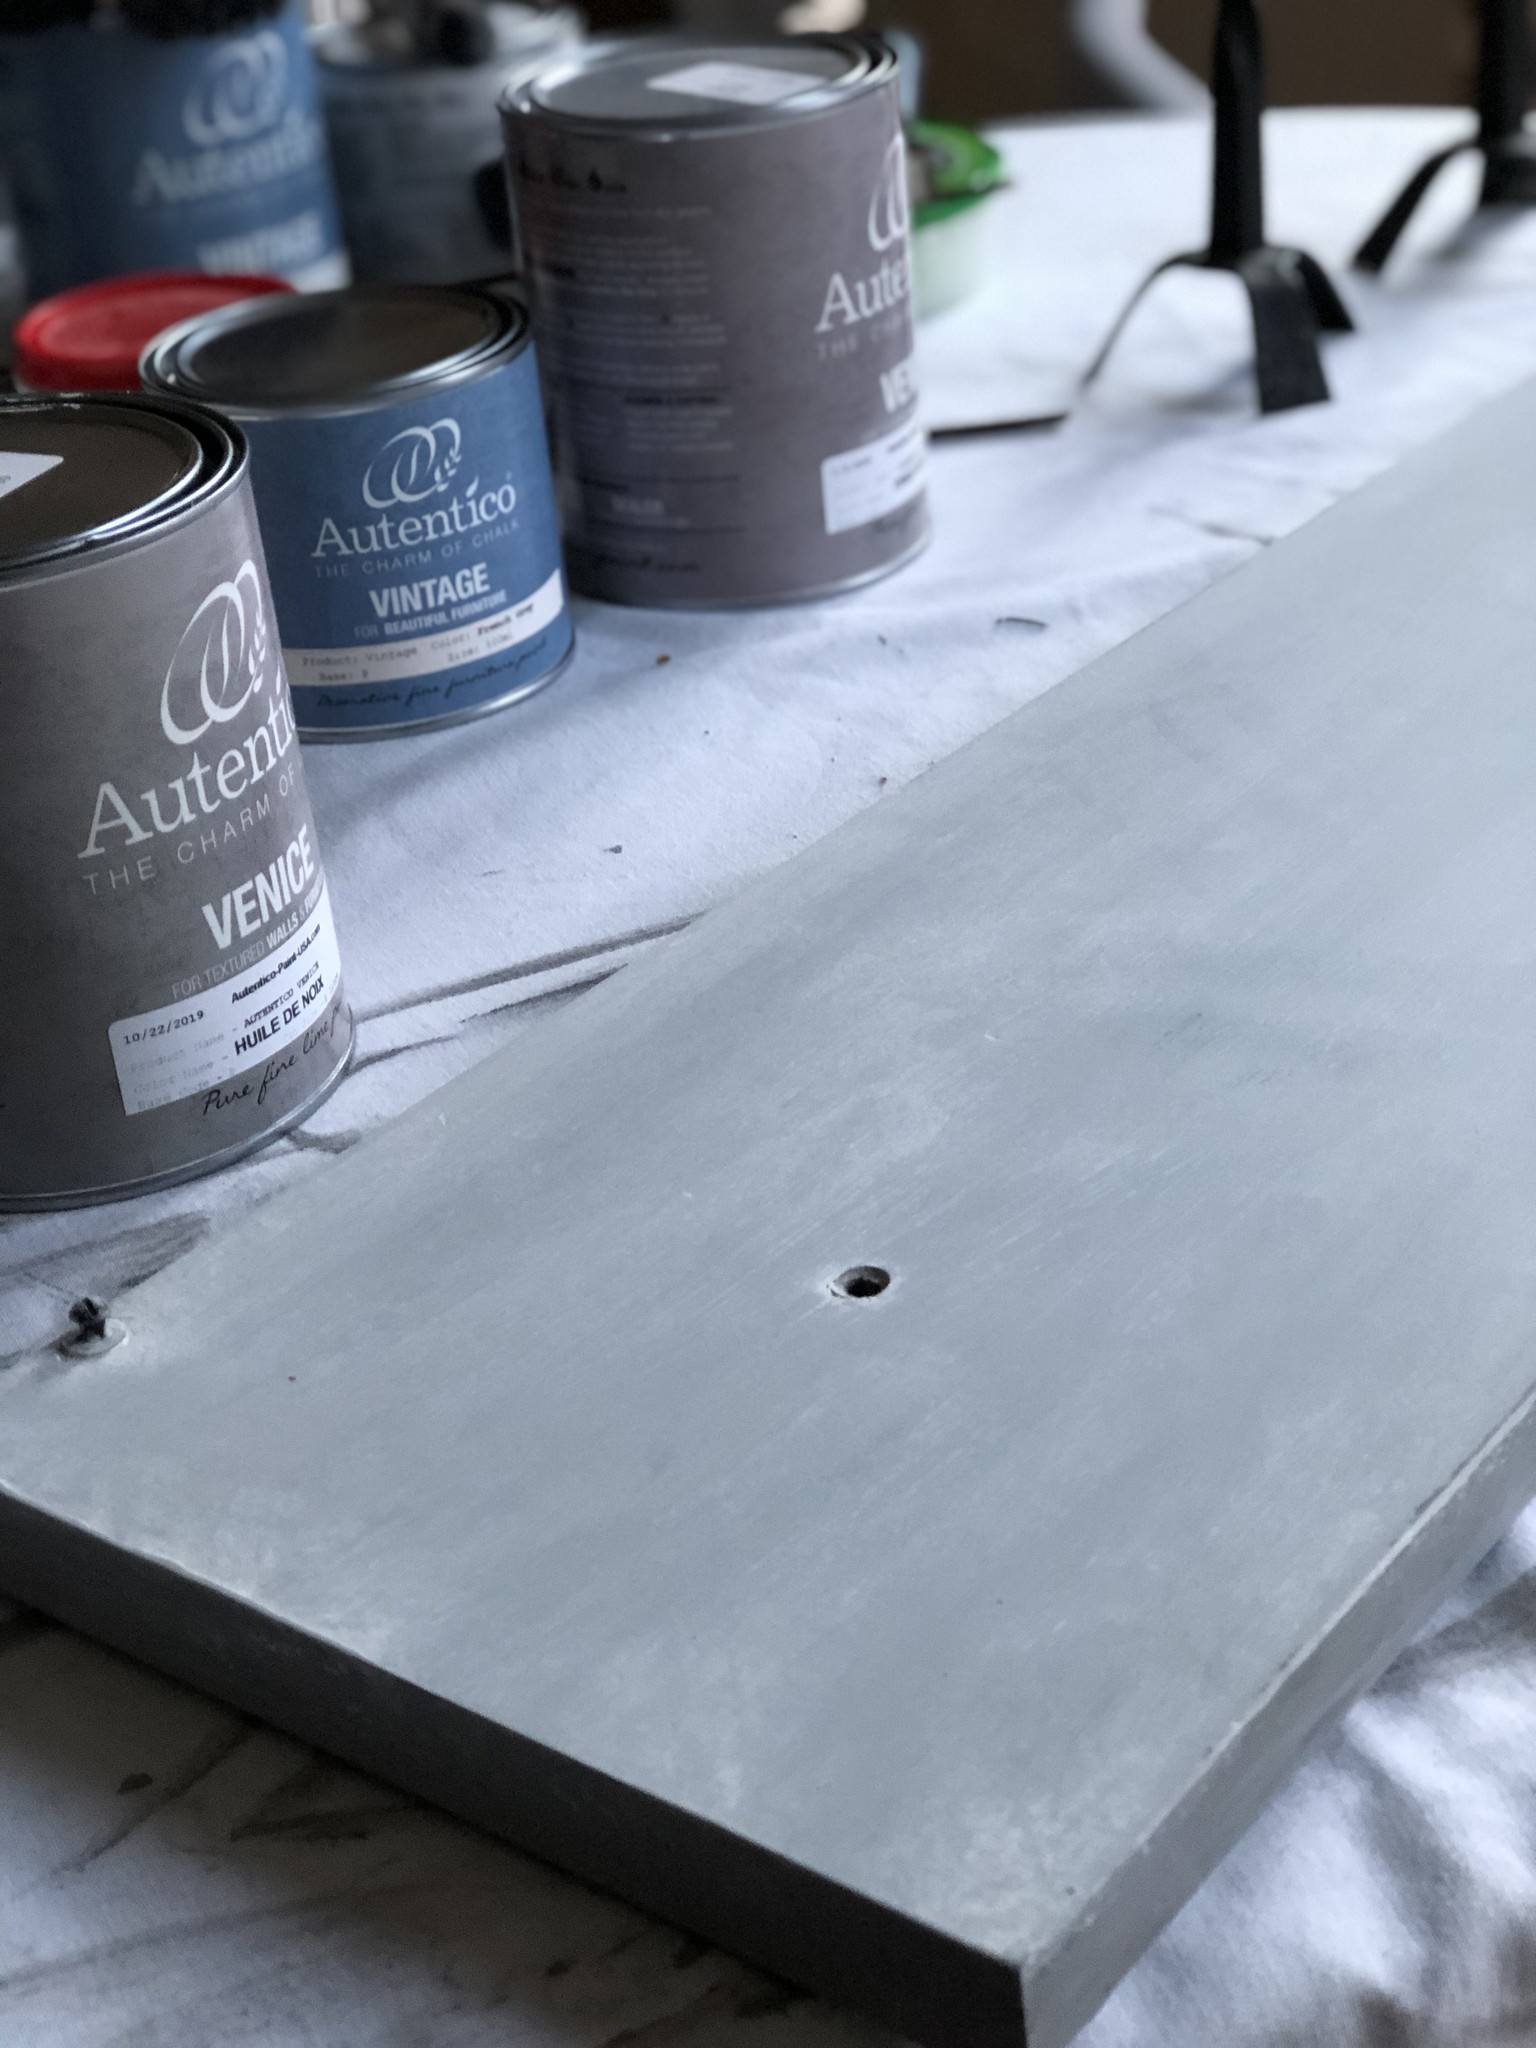
What I used:
Omniclean
Autentico Primer in Grey
Vintage in French Grey
Vintage in Casa Blanca
Clear and Anthracite Wax
Frog tape
I removed all the hardware and the doors, pulled out the drawers and numbered each one so they go back into the space they came out of for a good fit. Then vacuumed and cleaned with Omniclean. Taped out the inside of the lower cabinet. Because it's mahogany which is know to bleed I put one coat of primer on the whole piece.
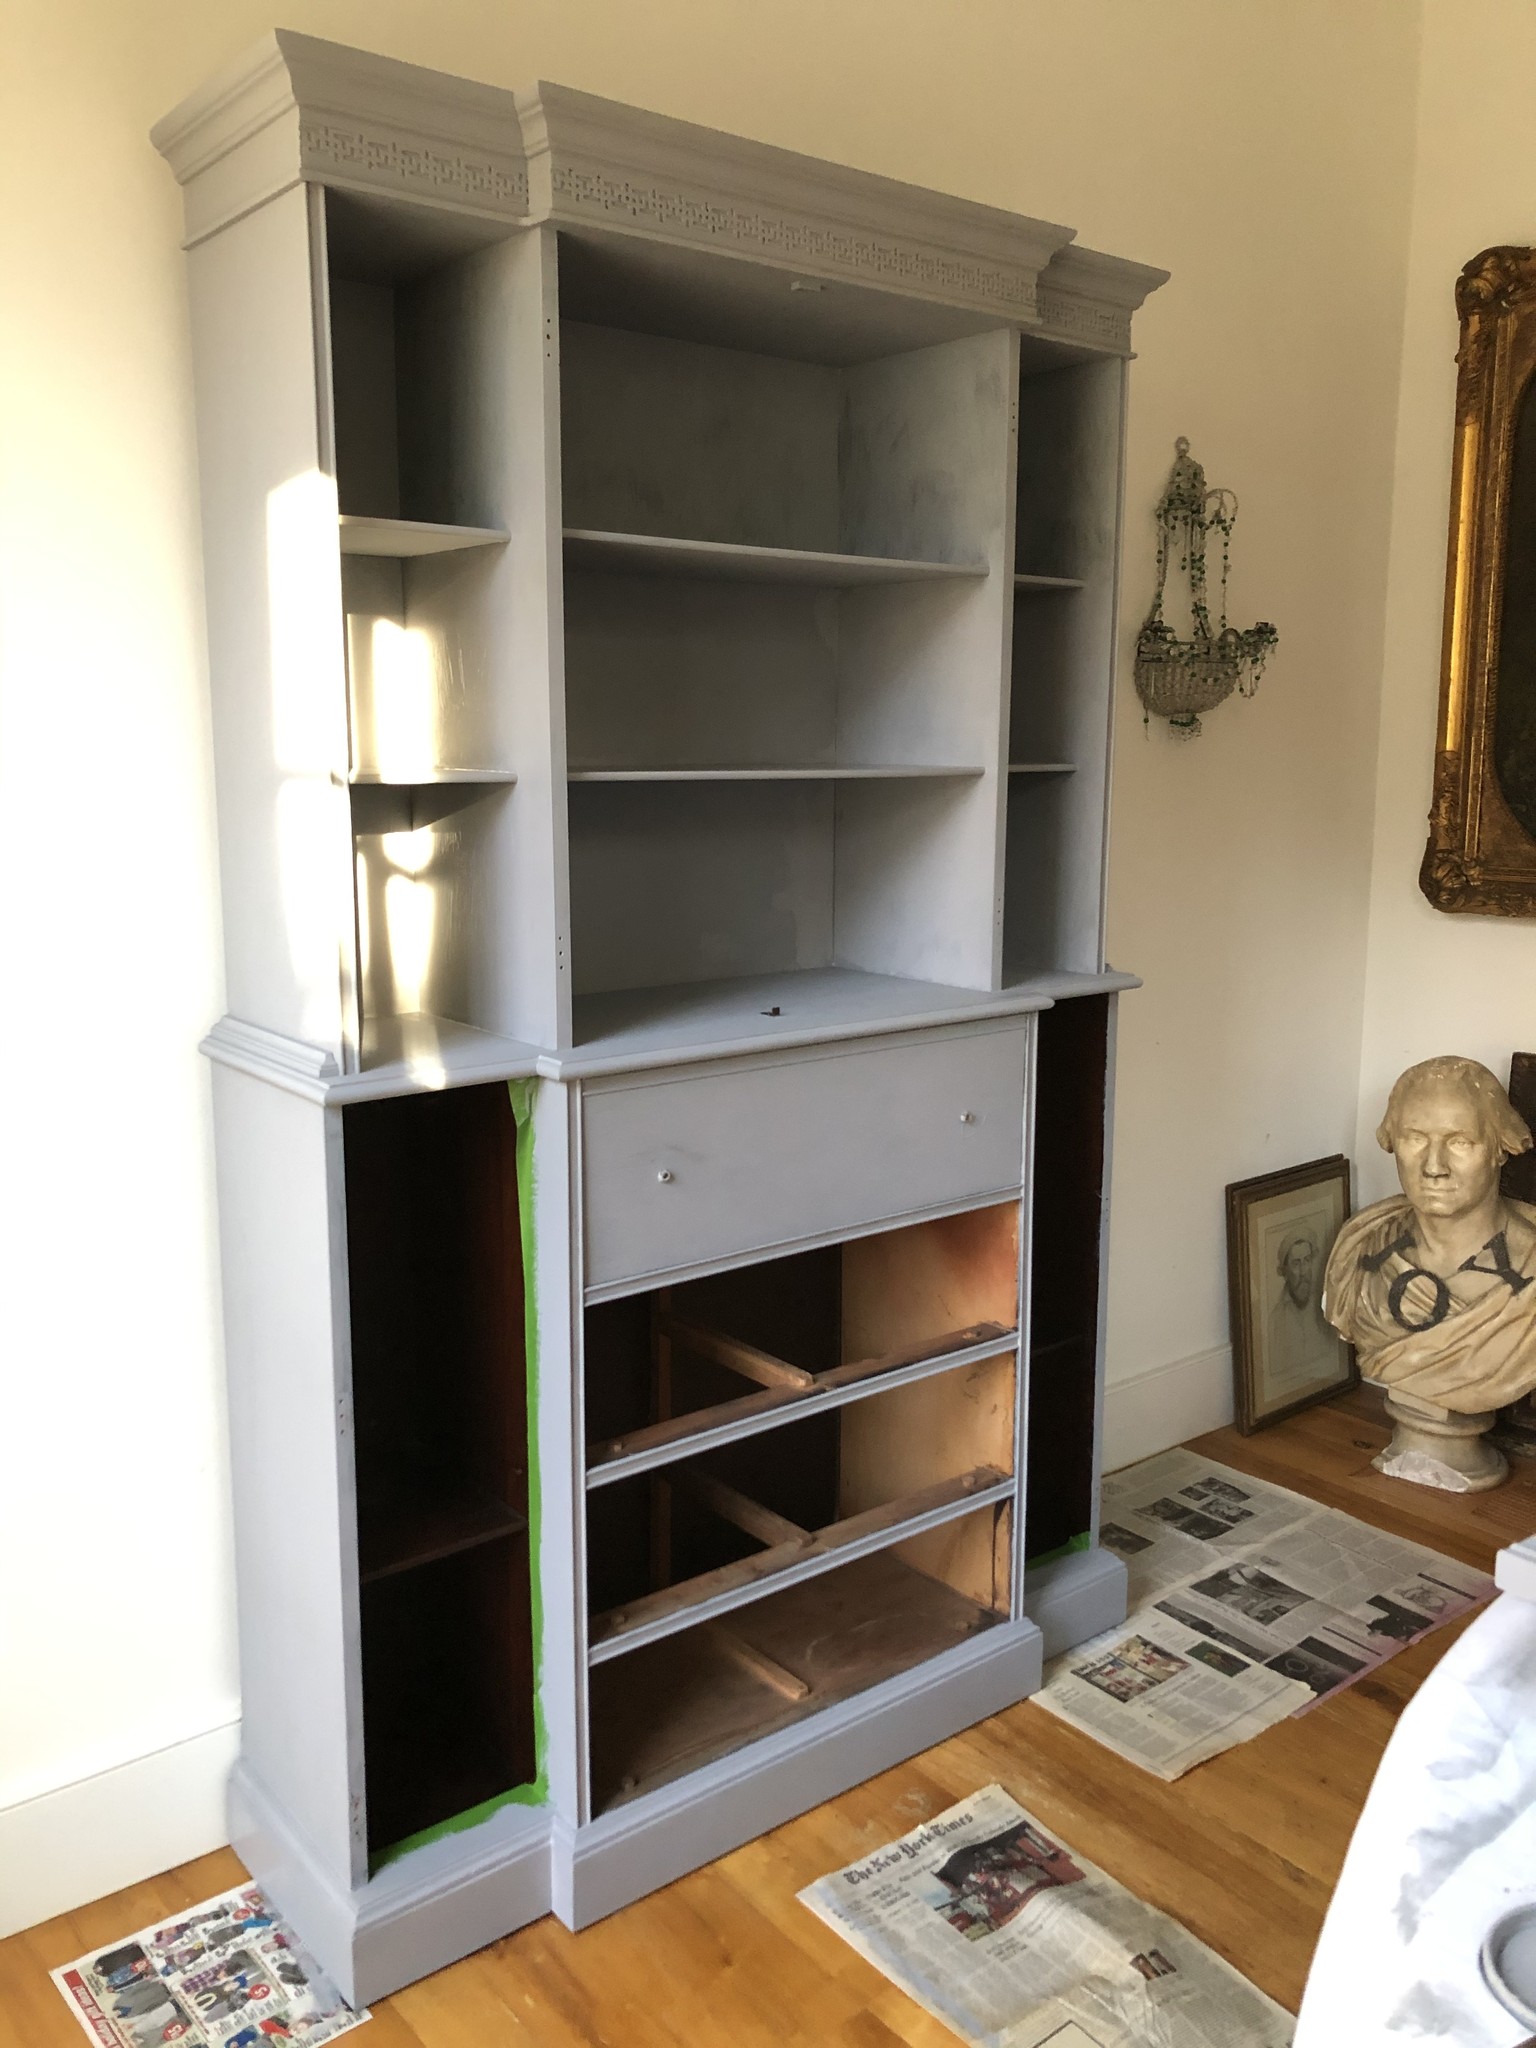
After the primer dried I painted the entire piece in French Grey and once that was dry I mixed up 2/3 Casa Blanca and 1/3 French Grey and really watered this down to make a wash.
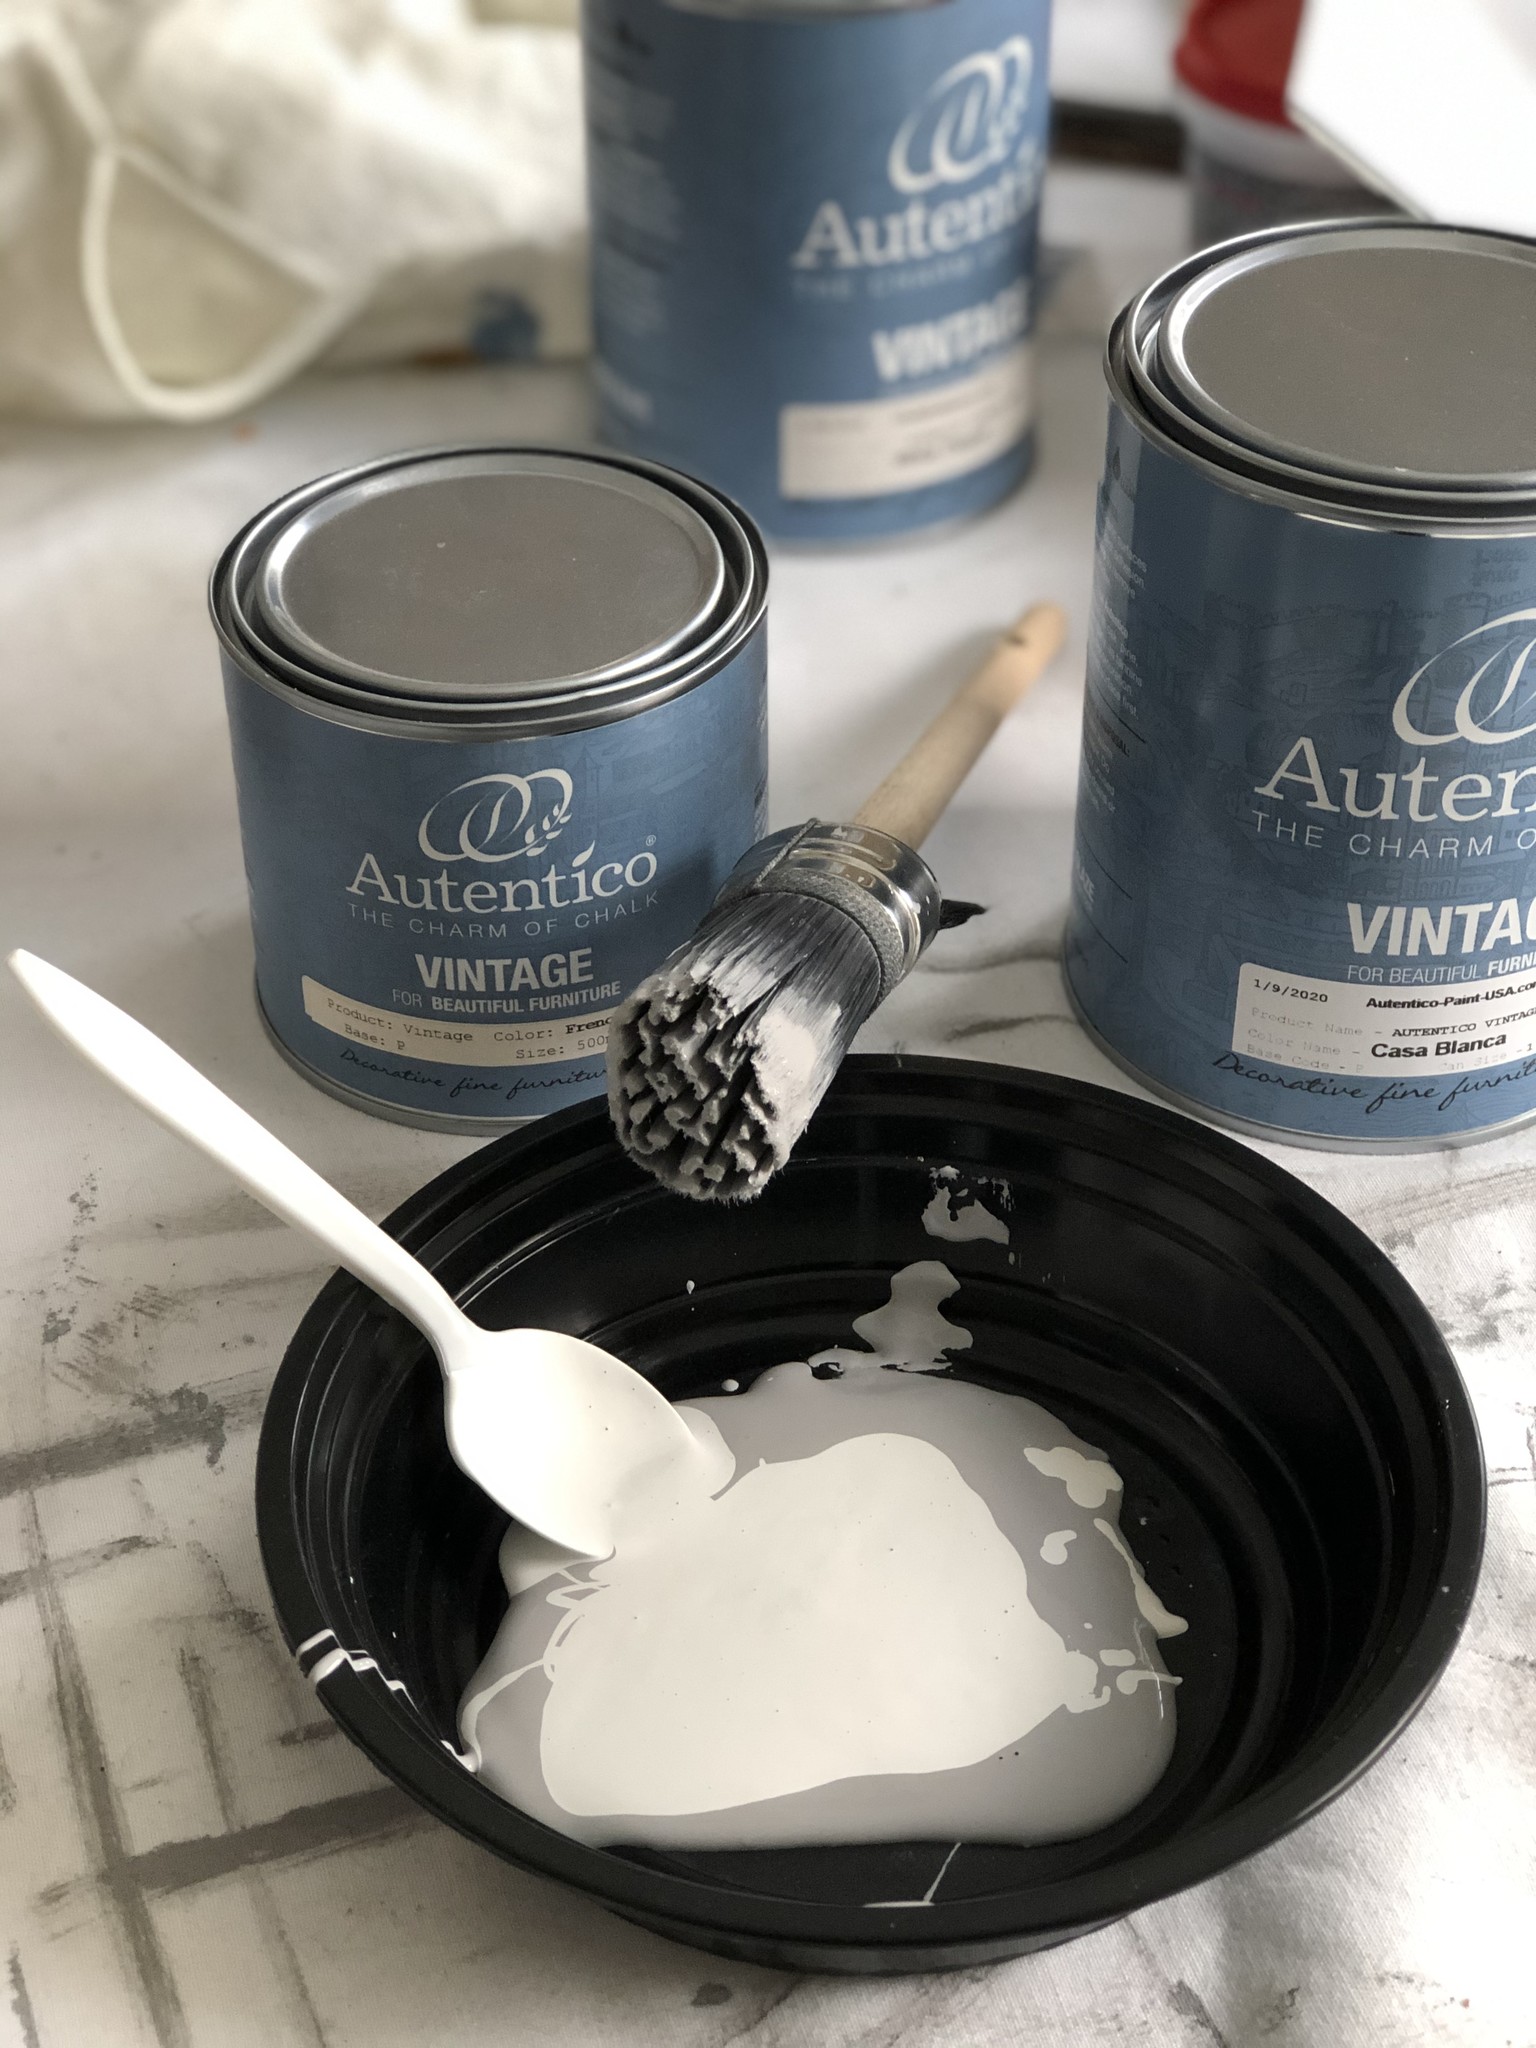
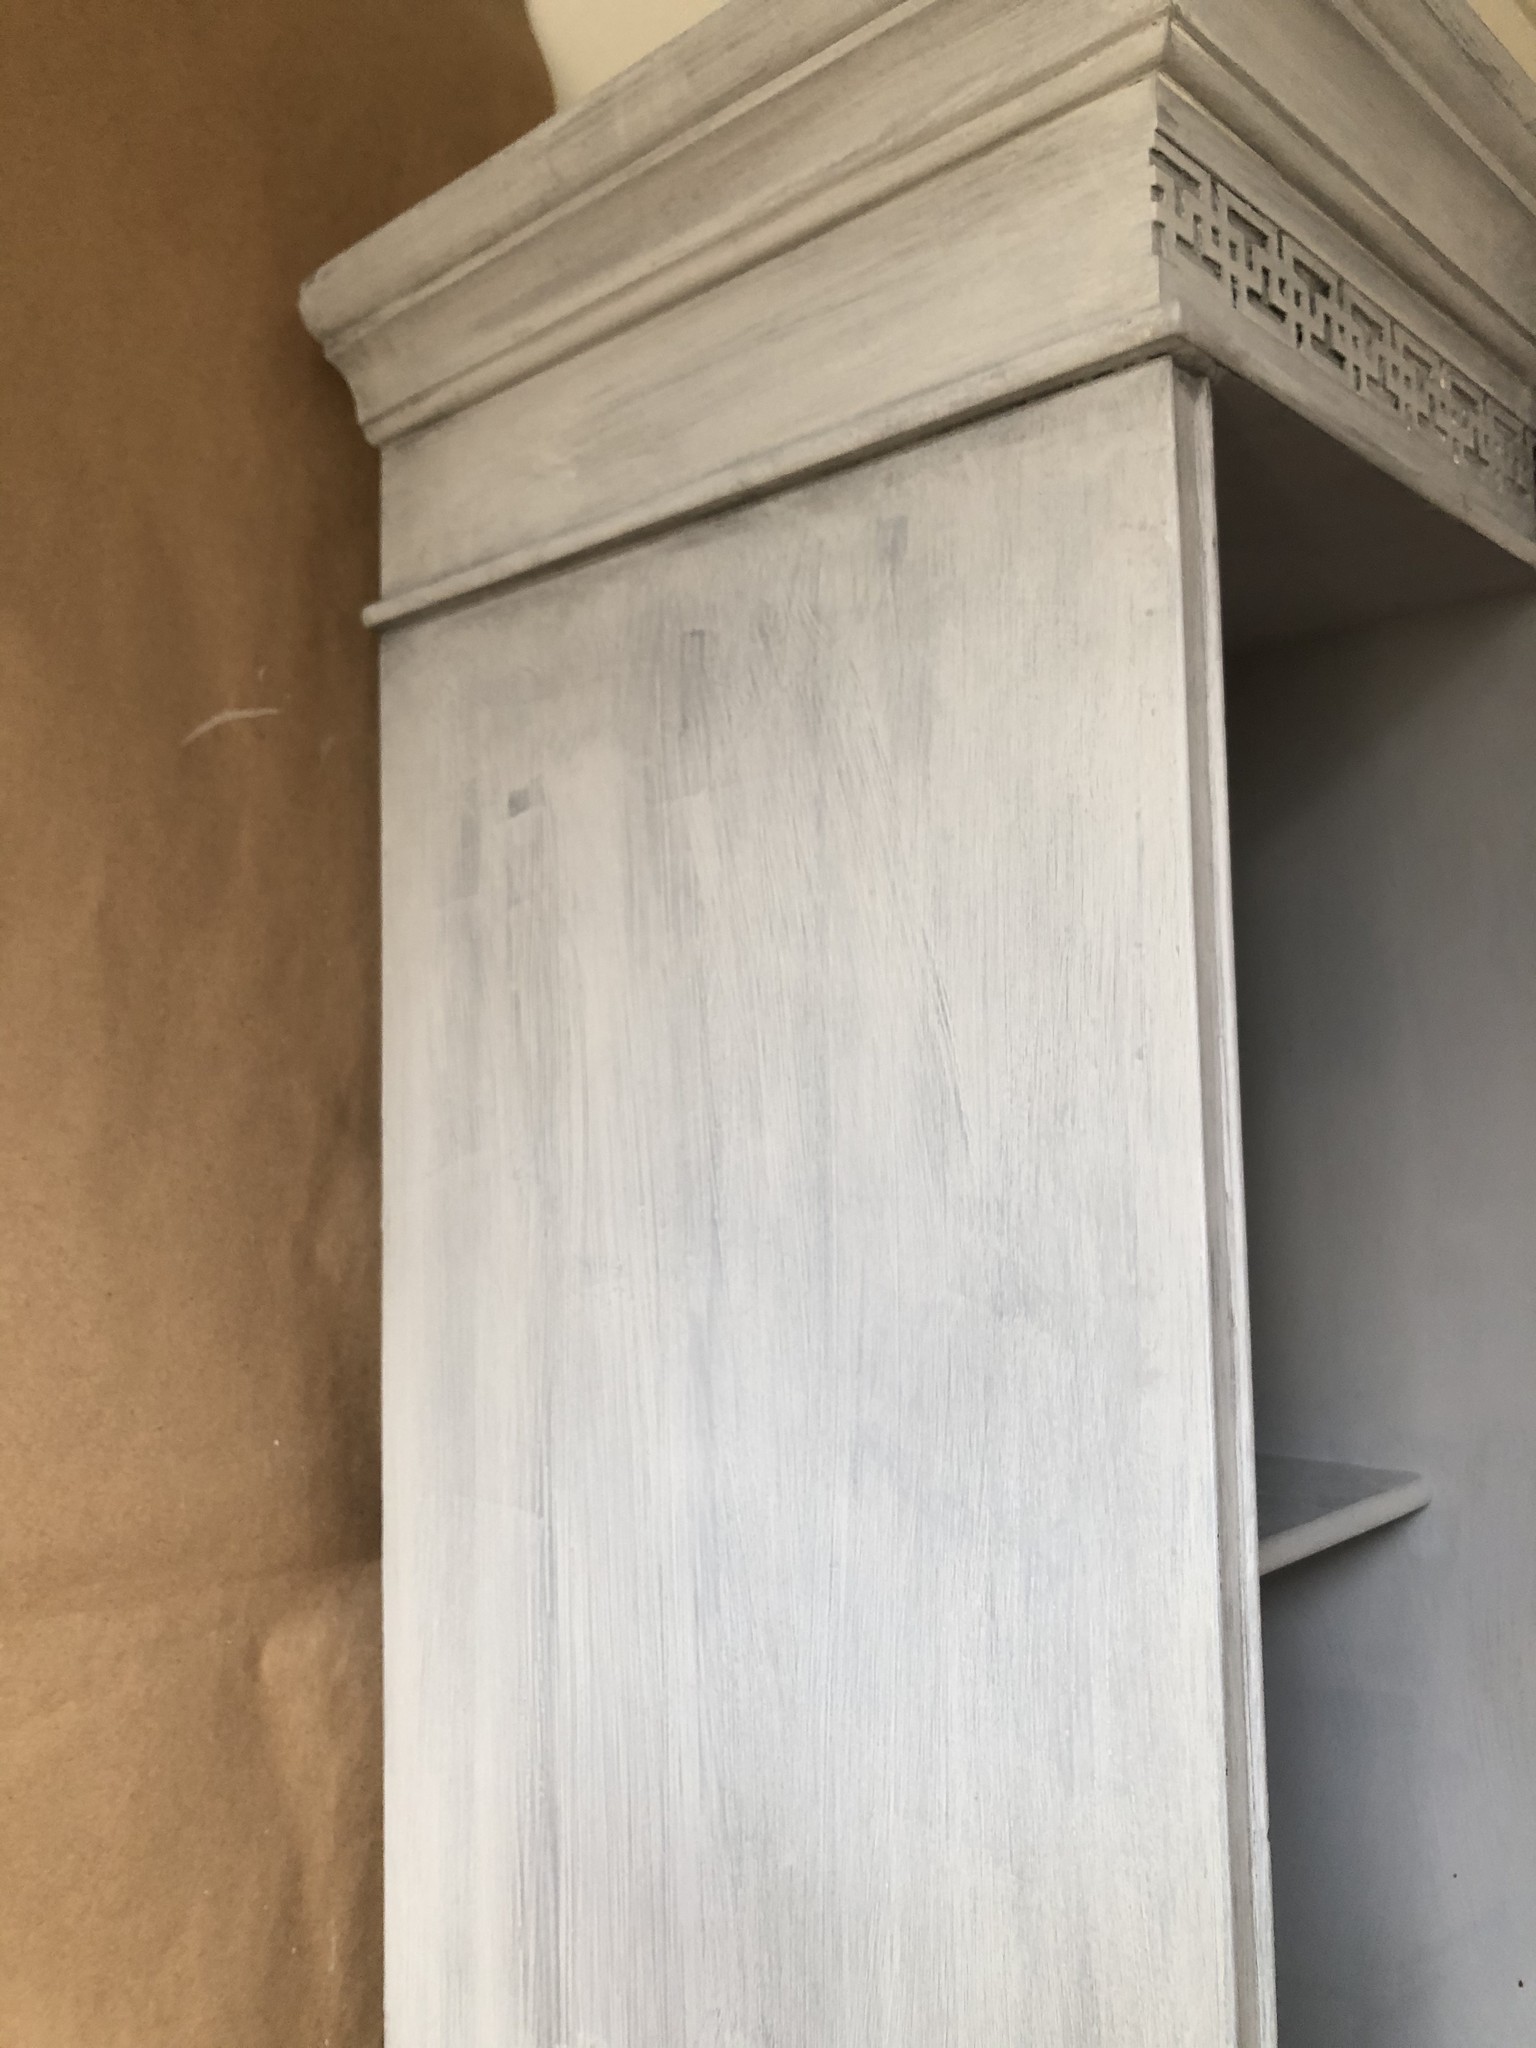
I applied the wash using my 35mm brush to the cabinet avoiding the insides of the shelves as I wanted a bit of contrast. I let this wash dry overnight and then I applied another wash of Casa Blanca. Again I let this dry over night as all that water from the washes sinks in to the previous coats and needs time to dry completely.
My last step before waxing is to sand back a bit through my washes, I take a very fine sanding block and sand until I see that original grey peaking through, then I wipe down with a microfiber cloth to get all the paint dust off. Here's a photo of the texture that's created. Oh, a tip! When painting a piece that's too big to move tape some craft paper to the wall behind it!
Finally I was ready to wax and used my favorite combo, Clear and Anthracite, about 2/3 Clear and 1/3 Anthracite blended on a cardboard palette and then brushed on with my natural bristle Autentico wax brush.
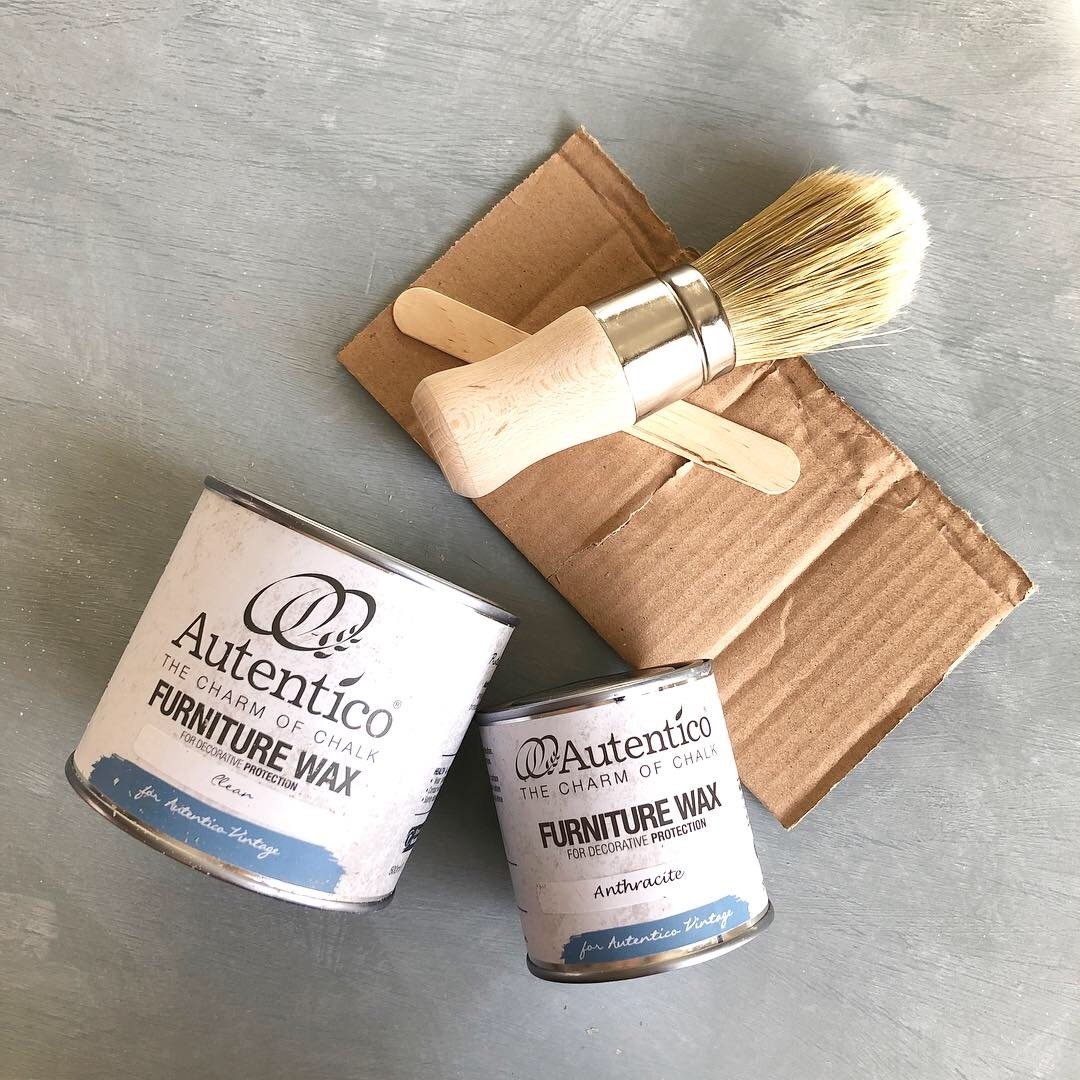
After the wax dried I lightly buffed, put it all back together and called it a day (or 14)!
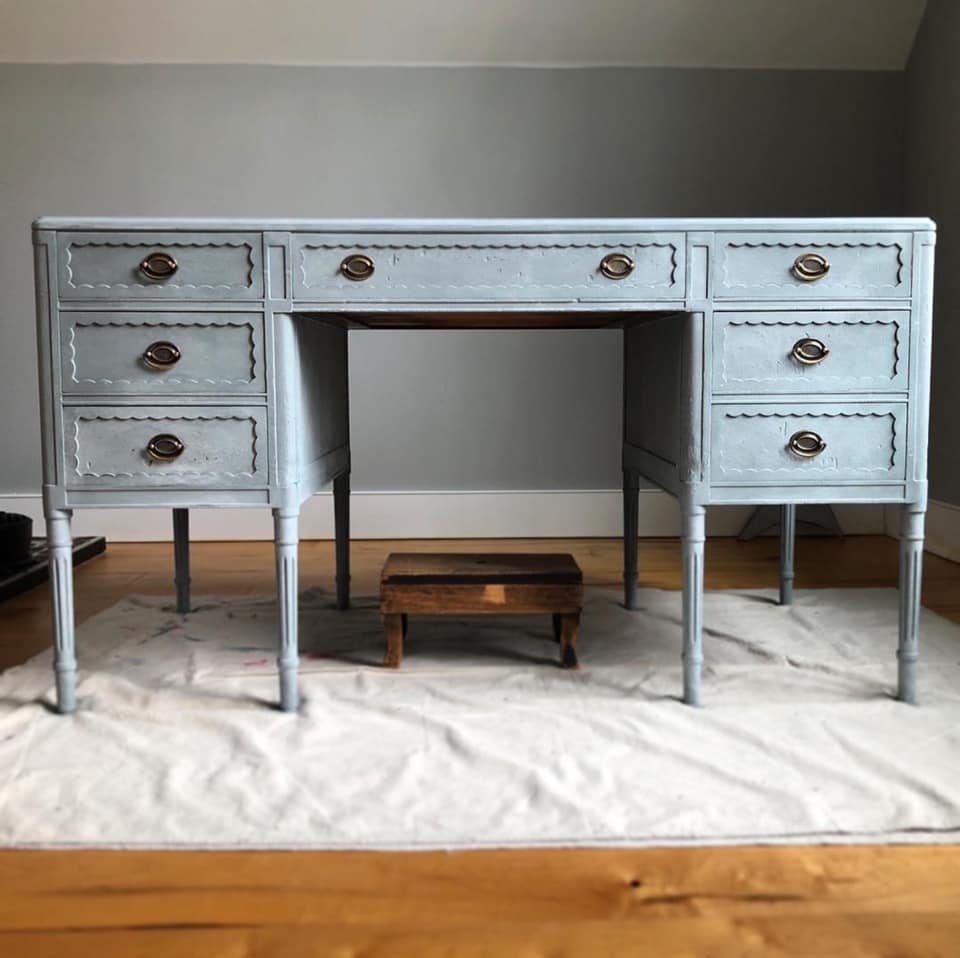
This is same technique I used on my desk, I love that soft powdery layered look and it works on any color, my desk is Scandinavian Blue with washes of Casa Blanca.
I hope my little tutorial was useful, if you have any questions let me know! I'd love to know what your favorite techniques are, please share here in the comments or join our Autentico Paint Society Facebook group.
Jayne